It is fair to say that most floral designers like to combine various flowers to make their artwork a synergy of shades, shapes, and fragrances. However, a mono-design does not need to be boring at all. Just check this brilliant design with the romantic Clematis Amazing® Vienna by Joseph Massie, including a DIY!
Joseph Massie
Well, who does not know him yet? Joseph Massie is one of Europe’s top floral designers. He has been in the industry for over 15 years and still loves it as much as when he started out. Joseph was first introduced to the floral world when getting a weekend job in the local flower stall. Now he has several titles to his name and runs his own flower studio Joseph Massie Flowers and flower school, based in Manchester, in the North West of the UK.
Joseph 'Joe' Massie is first and foremost a flower lover:
"My very favorite thing to do is to craft, create and tell stories with the very best botanicals I can place my hands on. I have worked with flowers since I was fourteen years old and spent years honing my craft, working with expert designers around the world. I am a romantic, a dreamer, a perfectionist, and I value wonderful quality and exquisite design which perfectly places me to work in partnerships with my clients, to deliver bespoke, luxury florals for their celebrations."

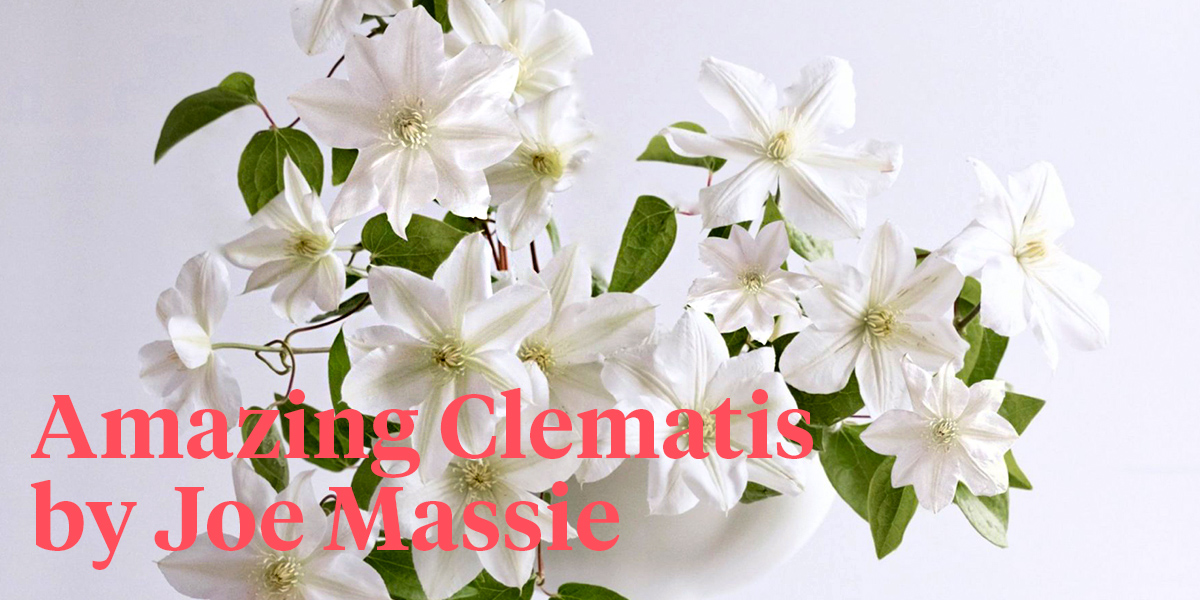
Clematis Amazing® Vienna
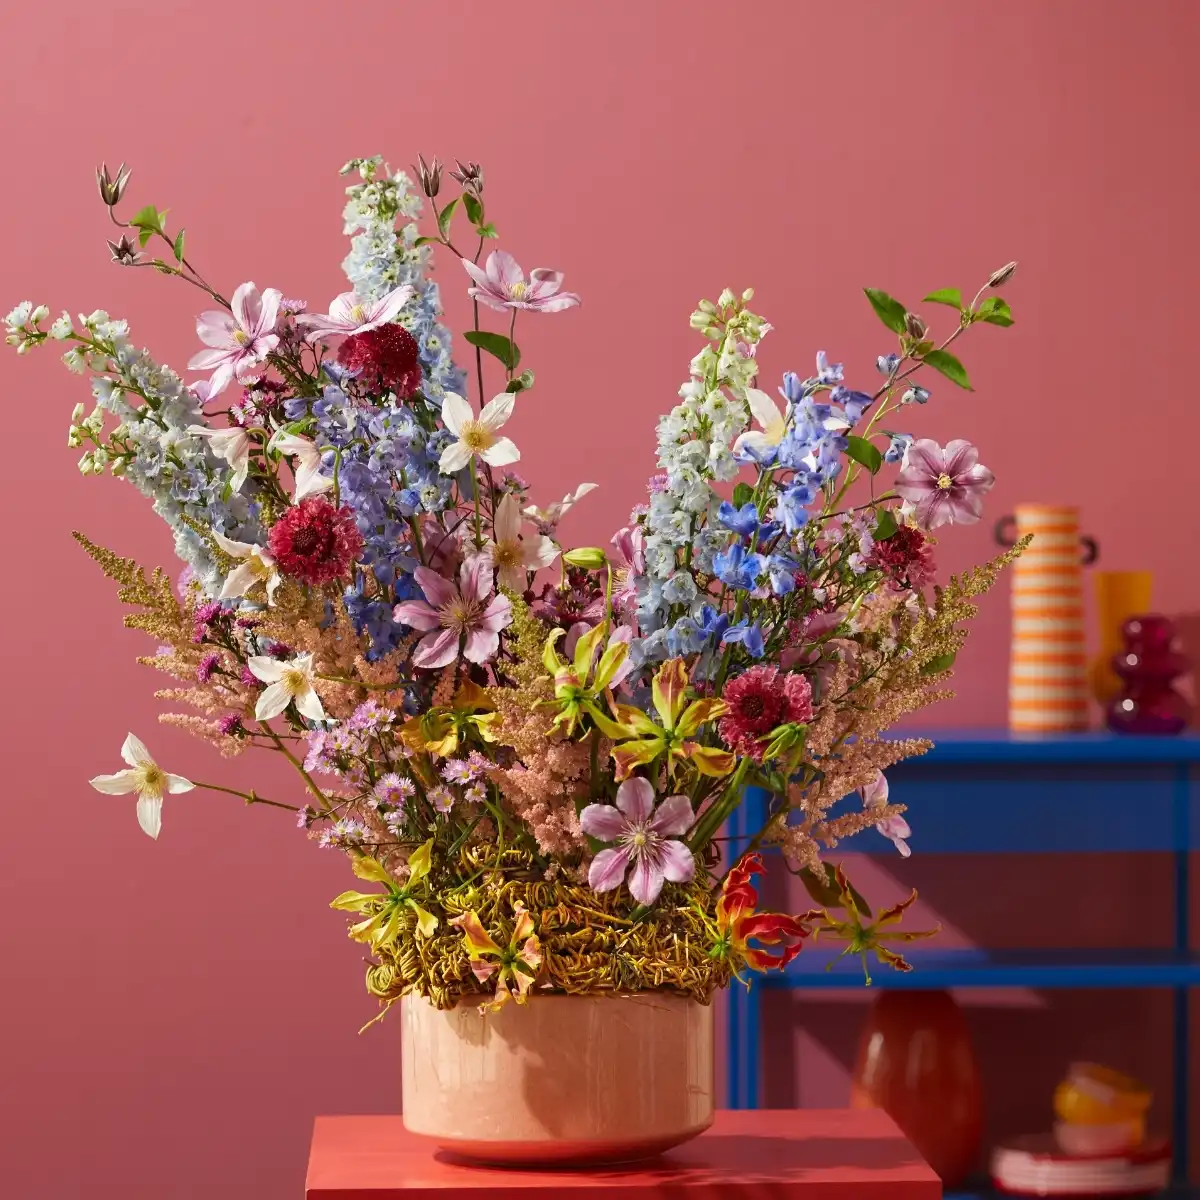
This flower has endless possibilities: bridal work, winter designs, a romantic bouquet with pastel or vintage colors... Anything goes. Clematis Amazing® Vienna from grower Marginpar has one large flower on top and charming tendrils, but her most special feature is her color: the petals are pure white, making it easy to fit in any design. But you will see that something magical can happen when Vienna can take the limelight on its own.
Watch how Clematis Amazing® Vienna blooms in this wonderful 35-second timelapse on Marginpar's Facebook.

Something Magical With Clematis Amazing® Vienna
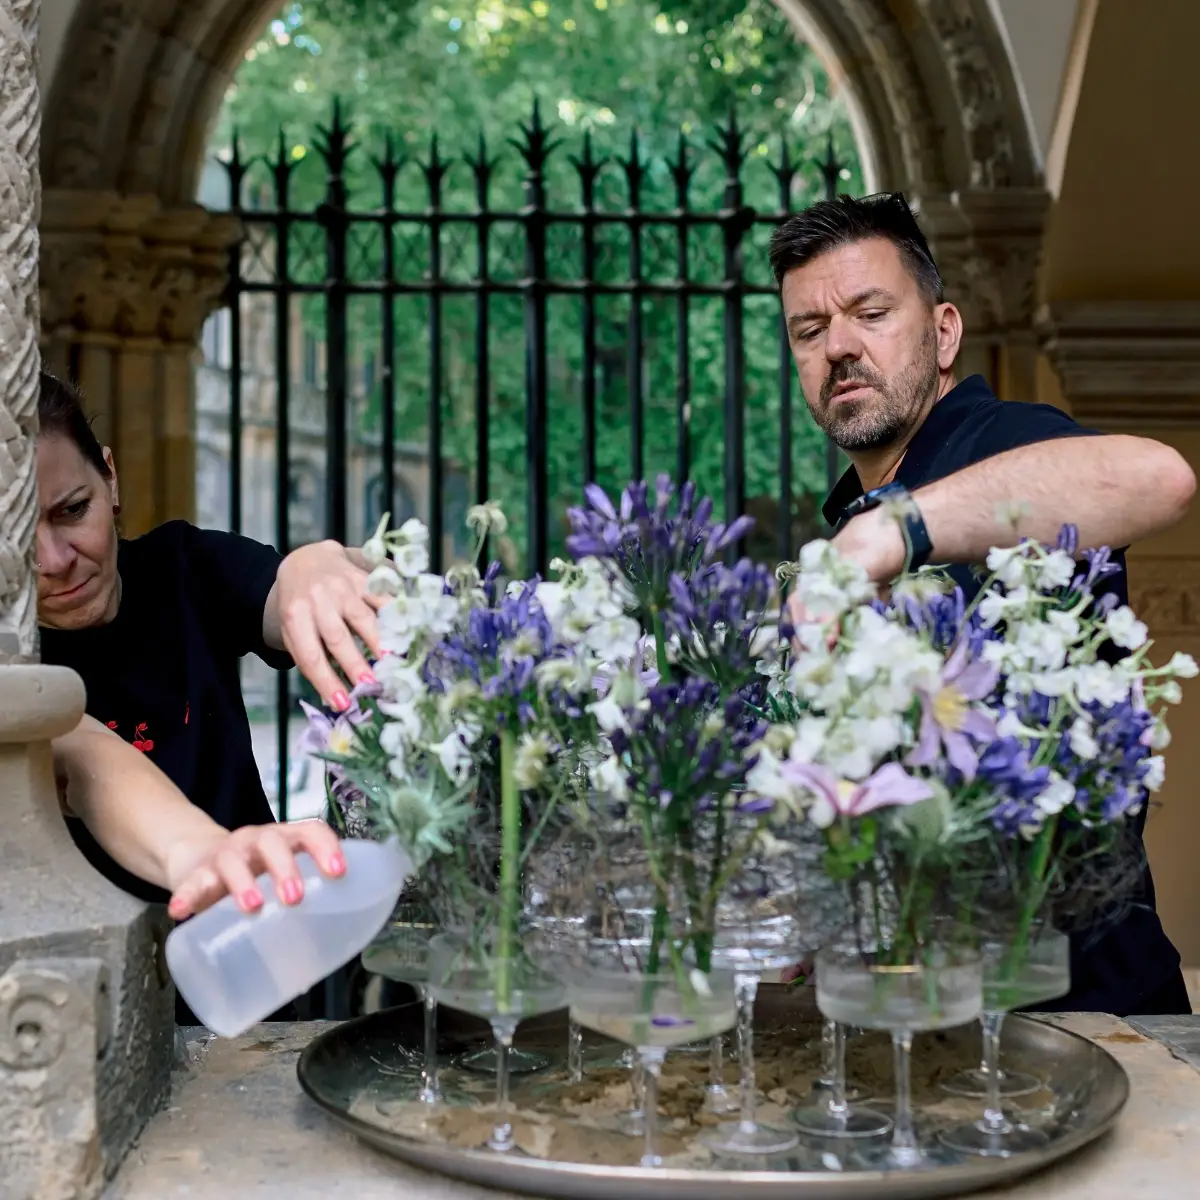
You are in luck! Joseph has kindly shared one of his 'How I Made It' tutorials with Marginpar, the growers of unique and innovative flowers like scabiosa, campanula, talinum, scutellaria, and... clematis. So, here is a step-by-step DIY of a Clematis Amazing® Vienna bowl by Joe Massie.
Joseph:
"Sometimes, some flowers sing better when they’re placed with other flowers - I guess that is true of most arrangements, right? Whilst we know that the act of combining blooms can certainly make for a stronger impression on occasion, through my practice I’ve often found that it takes something special, a really charismatic flower, to shine when it is arranged entirely alone. In this design, I’m working with one of my very favorite new flowers - Clematis Amazing® Vienna, and of course using only sustainable techniques to create an arrangement that is both statements, yet serene at the very same time.
Let’s dive in!"

Supplies:
- 1 low bowl, dish, or container
- Chicken wire
- Paper-covered wire
- 20 stems Clematis Amazing® Vienna
Step 1
Begin by selecting your bowl and ensure it is clean and dry. Take a sheet of plastic-coated chicken wire, and trim it to a size approximately twice the size of the diameter of your container.
Fold the chicken wire in half, creating a double layer of chicken wire, for additional strength. Fold the corners of your chicken wire, and gently start to shape the chicken wire up into itself, forming a small nest to fit within your bowl, and being sure to create multiple layers of wire within the nest shape.
Place the chicken wire nest into the vessel, so it sits level or just below the rim of your bowl.

Step 2
Cut a length of paper-covered wire from the roll, approximately 1 meter in length. To secure the chicken wire within your container, thread the length of paper-covered wire through the chicken wire, and loop it around, and underneath your vessel, bringing the ends back together on the rim of the vessel.
Twist the ends of the wire together several times to secure. Repeat the process again a second time, securing the wire perpendicular to the first, intersecting in the center of the bowl. The chicken wire will be held snugly in place by the two pieces of paper-covered wire, providing you with a stable base into which you can arrange your flowers.
Fill your vessel approximately one-third full with water, to which flower food has been added.


Step 3
Start by arranging a few stems into the bowl, with two stems angled towards the left-, and one lower, towards the right-hand side of the bowl. As we’re aiming for an asymmetrical form in this piece, placing our first few stems asymmetrically will assist us as we create this form.
Add further stems into the chicken wire, and slowly build up the taller, left-hand side of the arrangement. When building monofloral compositions, such as our project today, pay careful attention to the form and the placement of every bloom - there is very much less space to hide when we are working in such a clean manner. Stack the clematis stems one at a time upwards on the left-hand side of the bowl, starting low, with bigger, more open blooms, and next adding the next stem, slightly taller, to sit above the previous stem - doing so will help you build strength into the design, and protect the delicate stems.
Finish towards the top of this clematis tower with your smaller blooms or buds.
At this early stage, don’t worry too much about the exact position of your key placements or focal areas - clematis stems have some movement to them, so I find it best to build the form of the design first, and then accent our key placements a little further down the line. For now, focus on building the taller, dominant aspect of the design that will later house the 8 and 3 placements within our arrangement.
Next add further stems of clematis into the right-hand side of the arrangement, building this aspect lower, around one-third the height of the opposing placement. Ensure that you place some blooms through the center of the arrangement too, connecting both placements, and ensuring harmony throughout the piece.


Step 4
Once you’re happy with the asymmetrical form you’ve created add in a few key, focal blooms into the arrangement to reinforce the 3:5:8 placements within the design.
In this design, I’ve opted for my dominant placement (8) to sit low in the bowl by placing my largest flowers within this area (see the arrangement on the right). In the image on the left-hand side, my contrasting placement (5) sits higher, with slightly smaller, yet still significant.


Availability Clematis Amazing® Vienna
Interested to get your hands on the Clematis Amazing® Vienna? That should be no problem at all because this cut flower is year-round available at Marginpar.
Photos by Zuzi Salajkova @zuzanasalajkova, Bowl by Raawii.dk @raawii