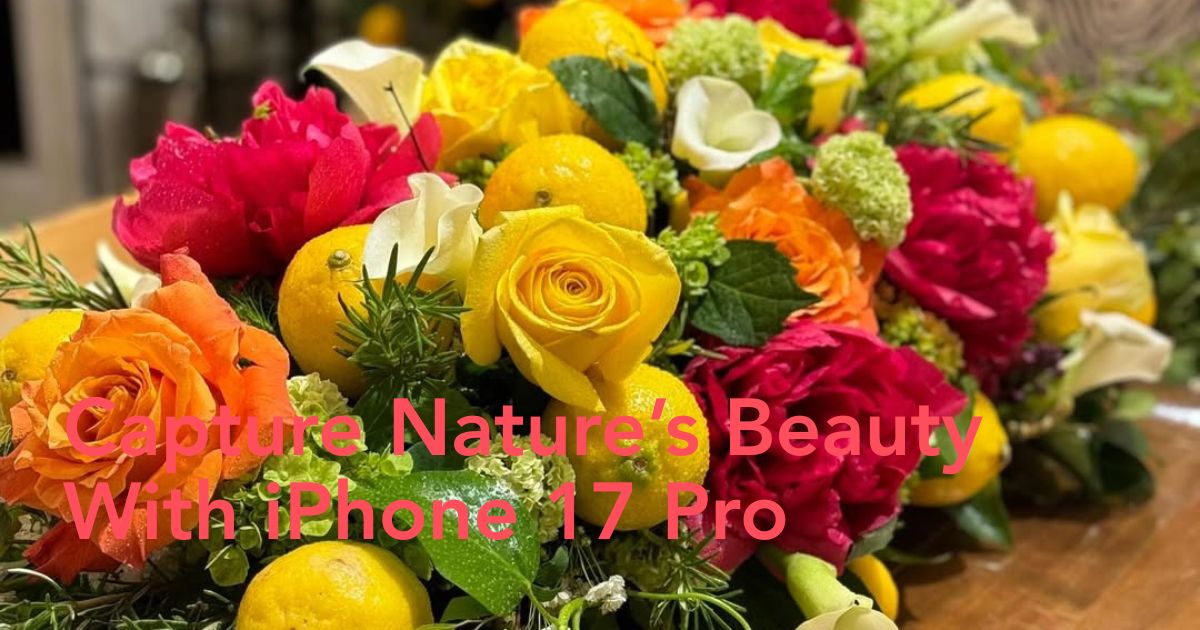
You’ve got the new iPhone 17 Pro or Pro Max in your hand. You’ve heard about the camera upgrades – the 8x optical zoom, the jump to a 48-megapixel telephoto lens. But how do you actually use this thing to take photos that make people say, “Wait, you took that with your phone?”
Let’s cut through the hype. This isn’t about specs. It’s about what you can do with them. Whether you’re trying to capture the delicate veins of a morning glory or the rolling layers of a distant meadow, here’s how to make it happen. You can find more knowledge here: A Dose of Flower Photography With Eva Bartos

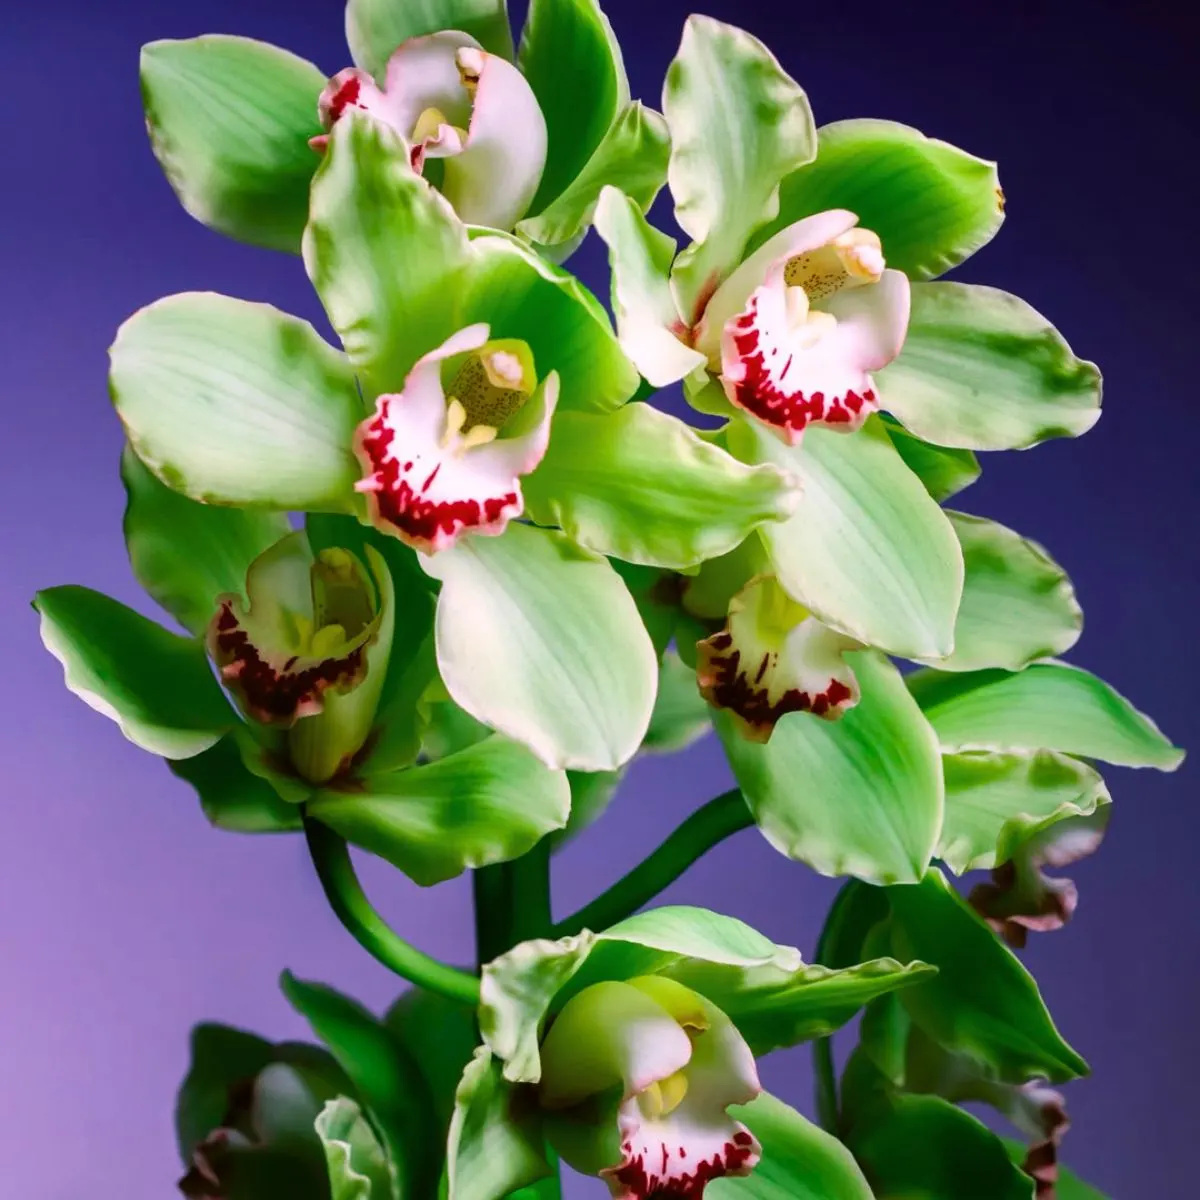
Shooting Flowers: It’s All About Light and Focus
First things first—lighting isn’t just important; it’s everything. The best light doesn’t come at noon. It comes early in the morning or just before the sun drops. That soft, angled light does something magical: it turns petals semi-transparent. Tulips, poppies, even daisies—they glow from within when backlit.
If you’re stuck shooting in direct sun, find some shade or use your own shadow to soften the light. Harsh light flattens details and kills color. Indoors? Move near a window. North-facing light is soft and consistent.
Now, let’s talk composition. Your phone has a grid—turn it on. Place the flower where the lines cross. That’s your sweet spot. Don’t just center everything. Give the image room to breathe.
If there’s clutter in the background, lose it. Use Portrait mode. Slide that f-value down to f/2.8 or lower. The background melts away, and your subject pops.
Or try getting low. Shoot upward against the sky. Or use a fence, a doorway, or even other flowers to frame your shot. Framing adds a sense of place and story.
When you’re ready to shoot, open your camera. Tap on the flower. A little sun icon appears—slide it up or down to brighten or darken the image. Bright white flowers often need a little underexposure. Dark red roses might need a boost.
If the flower isn’t moving, hold your finger on the screen until you see “AE/AF Lock.” Now your exposure won’t shift between shots.
In good light, keep your ISO low—50 to 100. Your shutter speed should be at least 1/100th of a second if you’re handholding. If there’s a breeze, kick it up to 1/250th or faster to freeze motion.
Portrait mode isn’t just for people. It’s perfect for flowers. The Stage Light effect can make a single bloom look like it’s under a spotlight. Play with it.
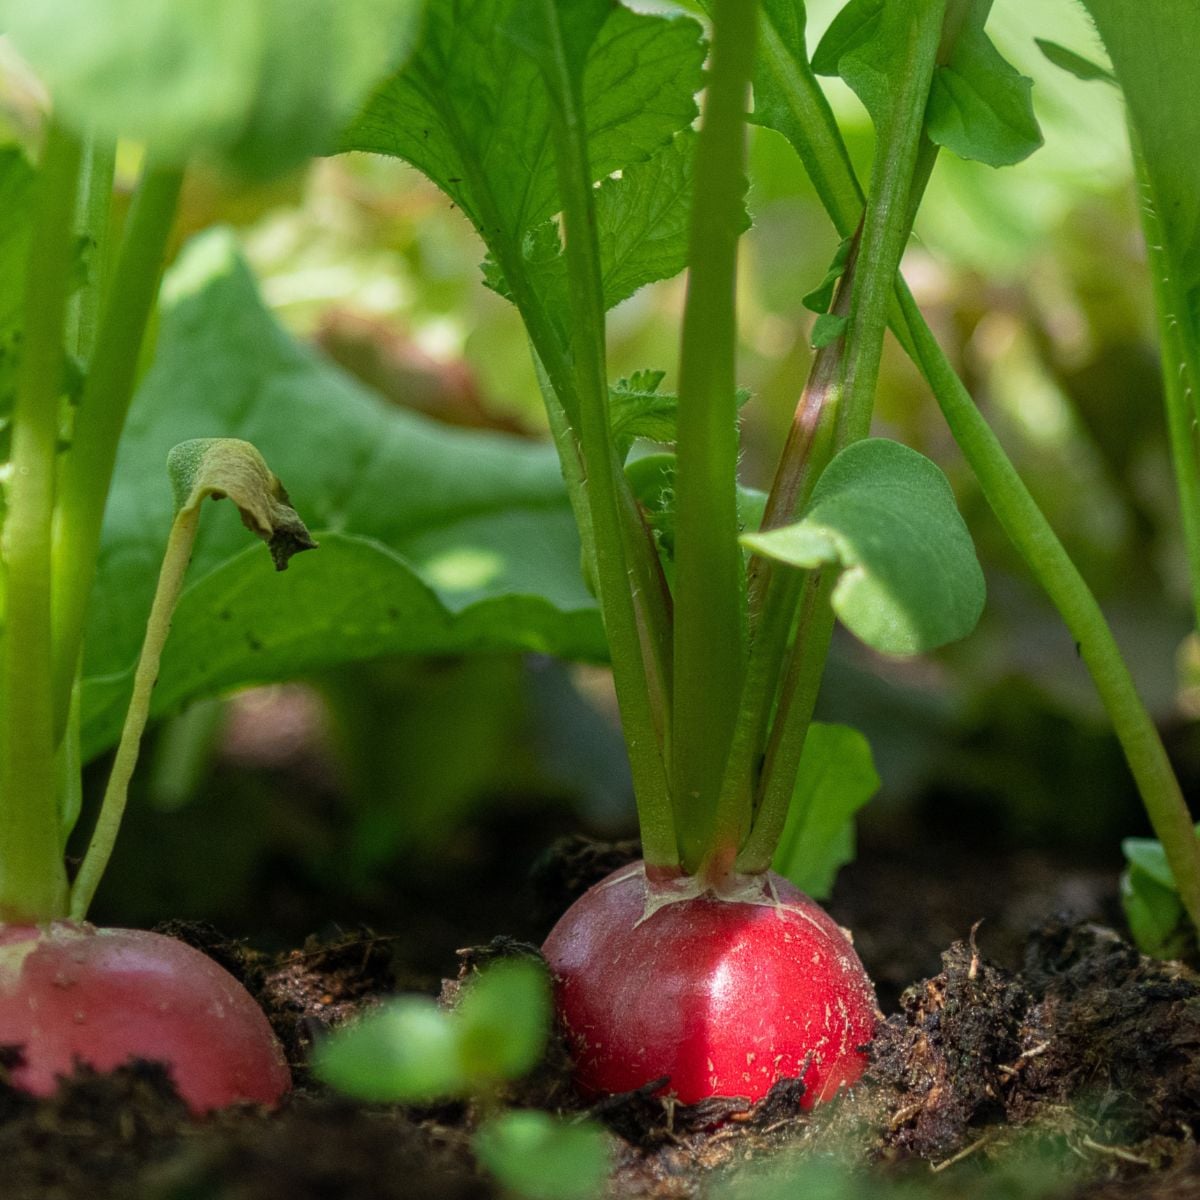
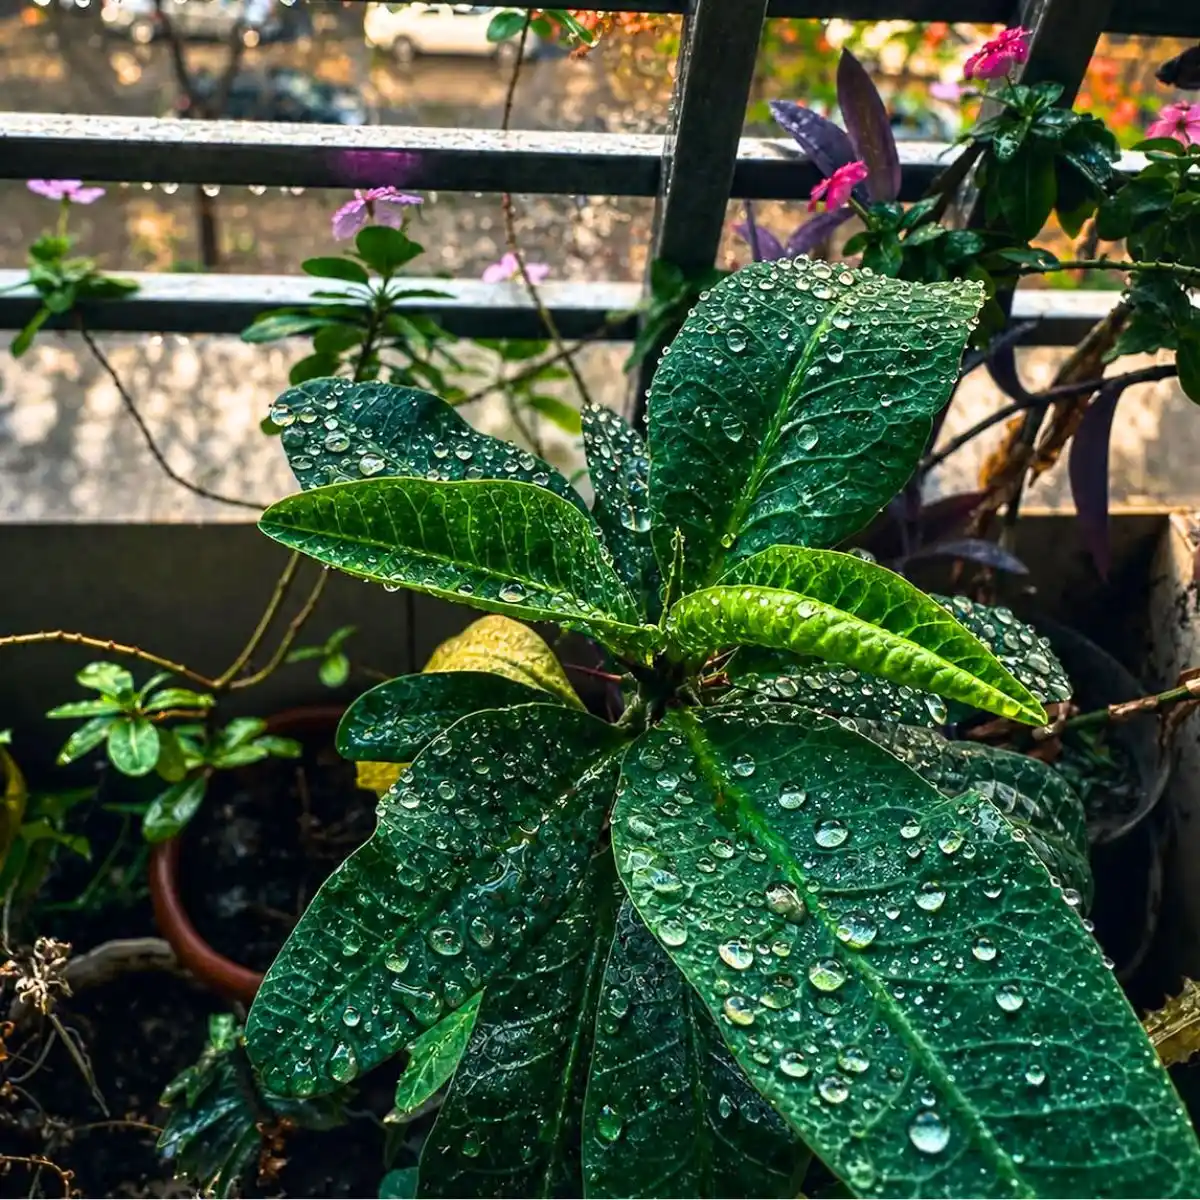
And if you want to see details no one else does—get close. I mean, really close. The macro mode on these phones is no joke. Focus on the dew on a petal, the texture of the stamen, the tiny veins in a leaf. Use a tripod or rest your phone on something steady. Bring your own light if you have to—a small LED panel or even your phone’s flash with a tissue over it for diffusion.

Shooting Distant Greens: Zoom In, Find Layers, Use the Light
That 8x optical zoom isn’t just for concerts or sports. It’s for pulling far-away scenes closer without losing an ounce of quality.
Imagine you’re on a hill looking over a valley. All that green looks amazing, but from a distance, it can look flat. Zoom in. With the 48MP sensor, you can crop deeply and still have a sharp image. Find patterns—rows of crops, shadows cutting across a field, a line of trees.
Light matters here, too. Early morning often brings mist or soft haze that adds depth. Late afternoon sun casts long shadows that define contours. Cloudy days give you even, saturated color without harsh contrasts.
Don’t just point and shoot. Think in layers. Include something in the foreground—a branch, rocks, taller grass—to create a sense of depth. Place the horizon along the top or bottom third of your frame, not dead center.
If the scene is vast, shoot a panorama. Move your phone slowly and steadily. Let the software stitch it all together.
When shooting landscapes, tap on the brightest part of the scene. Adjust exposure so the highlights aren’t blown out. If the sky is too bright and the land too dark, turn on HDR. Let the phone balance it out.
Keep your ISO between 100 and 200. If the light is low, support your phone. A wobbly hand at slow shutter speeds ruins detail. Use a tree, a fence, or a small tripod.
Wind is your enemy and your friend. It adds motion—capture it with intention. If you want blurry, dreamy grass, use a slower shutter speed deliberately. If you want every blade sharp, shoot at 1/500th or faster.

One Last Thing: Protect Your Gear
Let’s be real—these phones aren’t cheap. You’re not just carrying a camera; you’re carrying a small computer in your hand. If you’re out in nature, protect it. A good iPhone 17 Pro case and other iPhone models aren't optional. Neither is an iPhone screen protector. And if you’re serious about keeping your lenses scratch-free, think about a lens protector for your iPhone 17 Pro/Pro Max too. You don’t want a great shot ruined because your lens was dirty or scratched.
Now go take some photos with your new iPhone. Don’t overthink it. Experiment. See what your phone can do. With a little practice, you’ll surprise yourself.