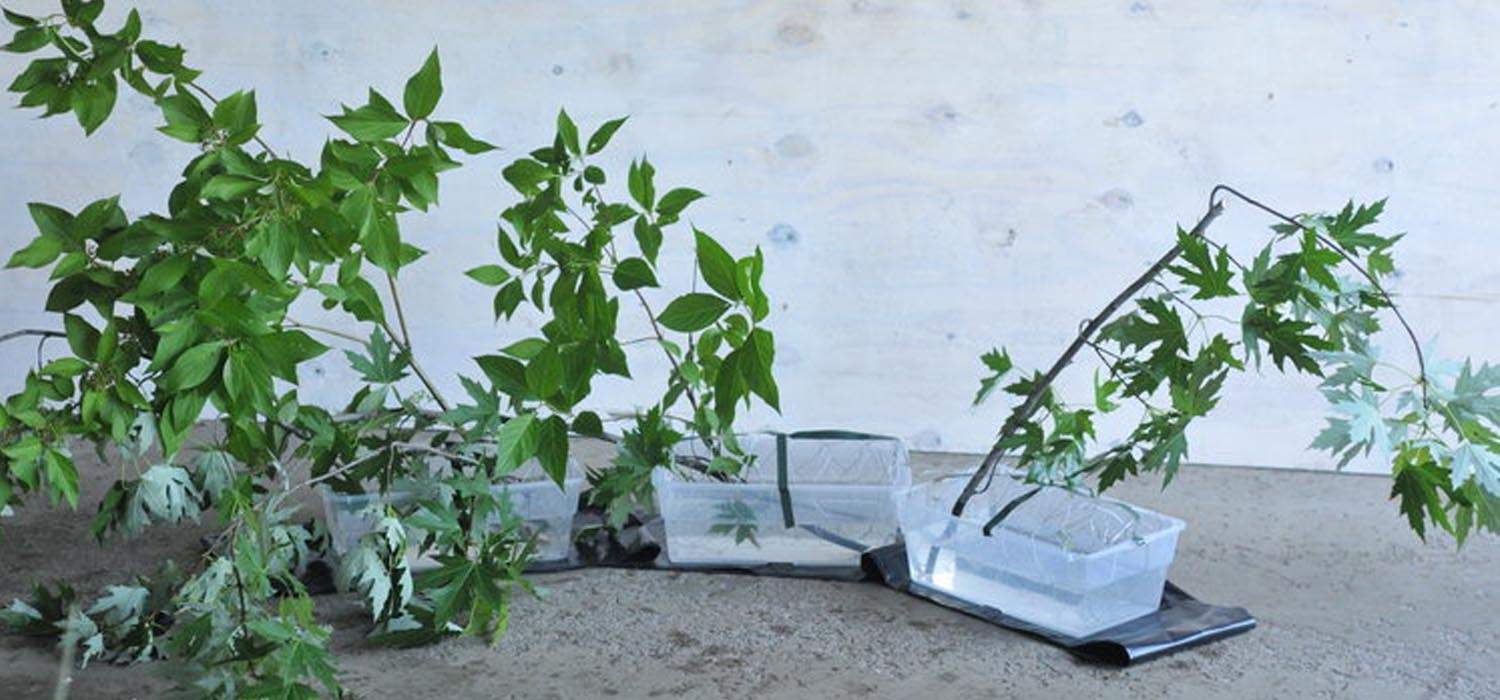
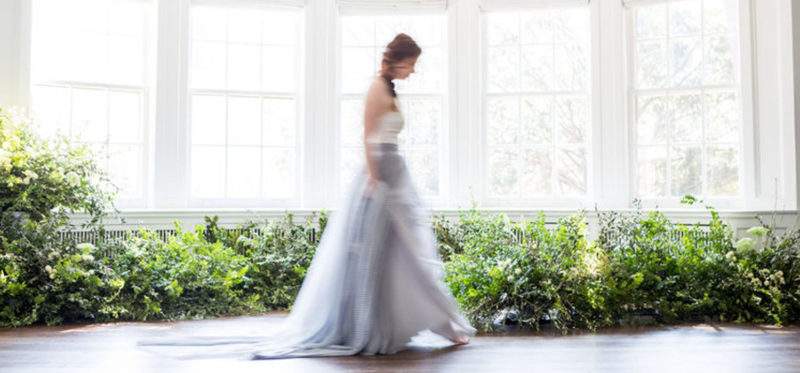
With an ever-increasing installation trend in weddings and event work, as well as the emphasis on foam-free floral designs, I was eager to figure out a way to create a ground installation, or living meadow, with foam-free mechanics that offered flexibility in multiple installation scenarios. There are so many options for foam-free installation mechanics out there, but this is the method that worked well for me. Hopefully, you will find it useful—or maybe it will provide you with a starting point for additional foam-free floral designs!
Here’s a quick overview of the steps involved, and then you can jump in for a more in-depth explanation of each! To create a foam-free living meadow installation:
-
Assemble your floral mechanics.
-
Prep your base.
-
Secure your wire.
-
Hydrate!
-
Begin your foam-free floral design by establishing shape.
-
Cover your mechanics.
-
To finish, add texture to your floral design.
STEP 1: ASSEMBLE YOUR FLORAL MECHANICS
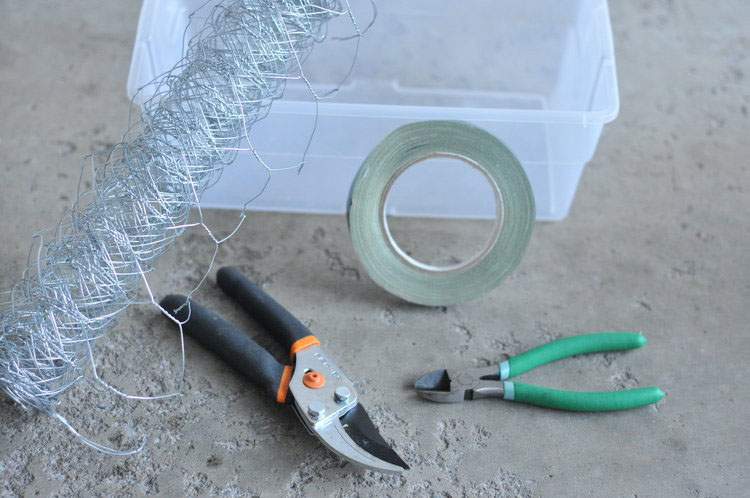
To create a foam-free living meadow, you will need:
-
12" plastic storage containers, approximately one for every 3 feet of coverage
-
Chicken wire (I prefer the rolls that are already 12" wide to save time, which is especially helpful on event day when time is in short supply)
-
Oasis waterproof tape
-
Wire cutters
-
Clippers
-
Heavy-duty garbage bags (if you are indoors)
STEP 2: PREP YOUR BASE
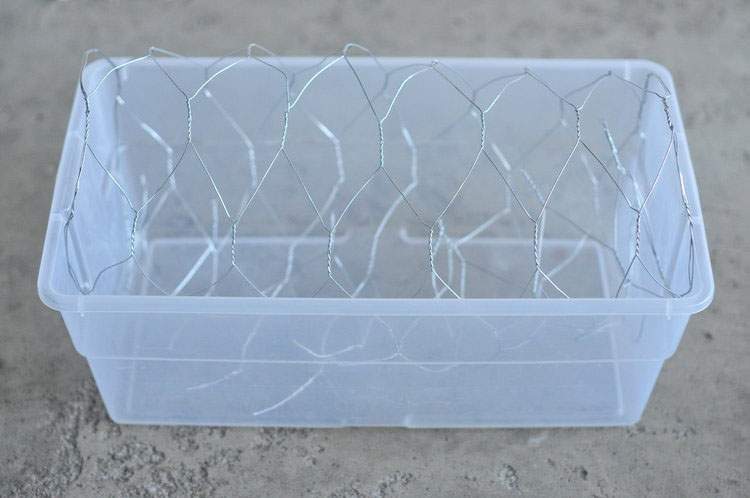
Using your wire cutters, clip a section of chicken wire and wrap it into a roll. Place the roll into the container, making sure that the chicken wire comes up above the top of the container.
STEP 3: SECURE YOUR WIRE
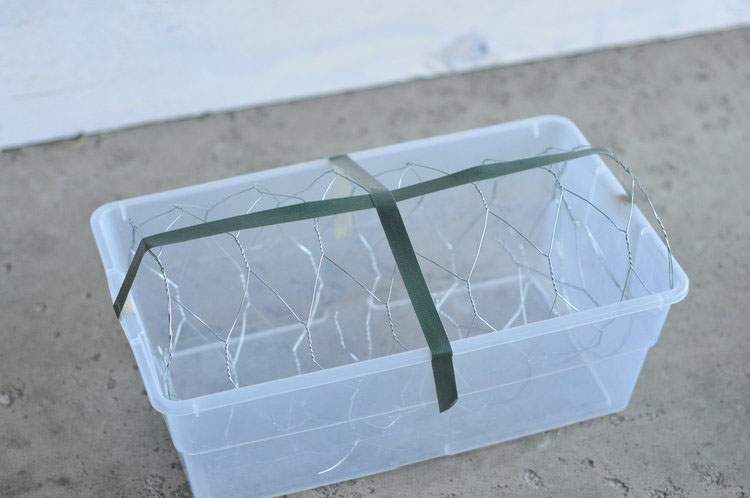
Secure the chicken wire using waterproof tape. Be sure not to crush the structure of the wire—the tape is there to ensure the wire doesn't shift.
